Order Management Workflow
Order Management Workflow is a process of best practices to ensure the lifecycle of each order is completed; from order creation, shipping management and ultimately delivery of orders to the customer, all while maintaining correct tracking and order data in eCellar. The life cycle of an order can be tracked based on its shipping status.
-
Ship Status Definitions
-
Streamline Daily Work Flow
-
Compliance Submission with Ship Complaint
-
Changing Ship Status Definitions
-
Add Tracking Information to Orders
-
Email an Order Invoice.
1. Ship Status Definitions
Shipping Orders
- Unshipped: Unspecified ship date, ready to ship.
- Hold Ship: Has a specified future ship date.
- Exported: Order has been exported to fulfillment via a spreadsheet file. (Requires User permission)
- Shipped: Updated based on tracking information available. (Update to inventory a2i)
- Delivered: Final status update based on tracking information. (Update to inventory (i2p)
NOTES:
- A Hold Ship order will automatically change to Unshipped status, when the future ship date becomes today.
- Orders transferred to fulfillment via ShipCompliant will skip the ‘exported’ step, and will have the two-step compliance check/ship process via the ShipCompliant integration.
Immediate Pickup and Pickup Order
- Immediate Pickup: Processed and carried out immediately at the time of payment.
- To Pickup: Order is in a Hold for Pickup status with a future pickup/ship date. (Update to inventory a2i)
- Picked Up: Order is picked up by the customer after the purchase date. (Update to inventory (i2p)
2. Streamline Daily Workflow with Saved Order Searches
- Saved Order searches are key to streamlining your workflows.
- Searching for Daily orders from ‘Today’ or ‘Yesterday’ enables you to manage shipping orders as a group.
- Processing orders in batches, whenever possible will save time.
- For fulfillment exports, a single saved search for Paid/Unshipped orders will always find what needs to be exported, and sent to fulfillment.
- You can also use the Saved Search Templates found by clicking the lightening bolt icon. (Let Support know if you would like other search templates created!)

3. Compliance Submission with Ship Compliant Integration
Check Compliance (only for ShipCompliant Integration)
There are three ways to check compliance on an order:
POS - Before completing an order click the Compliance button. This is a check compliance without commit. (See this article for more information.)
Individual Order - Click the ‘Check Compliance’ checkbox in Order Detail view, upper right corner. (See this article for more information.)
Batch - As outlined in the Help Doc titled Batch Orders for Compliance Check
Checking Compliance -
- Cmpl: When this box is checked orders are sent to ShipCompliant for compliance check:
- - From Order Search results, checking this checkbox queues the request to be sent to ShipCompliant automatically every hour on the hour.
- In Order Detail when cmpl is checked and UPDATE button is clicked, the order is sent real-time (and committed if compliant).
- Regardless of how they are sent to SC, if orders pass address validation and are compliant, they are 'committed' (saved) in ShipCompliant (for reporting purposes).
- Ship: When this box is checked, this releases the order in ShipCompliant to the fulfillment company for shipment:
- eCELLAR checks these orders for ship status every hour on the hour, and will pull back ship-track information and save it into the order.
- If the order has ship-tracking information, it will have the ship status of 'Shipped' automatically in eCellar.
- Once an order has been updated to Shipped in ShipCompliant by the upload of a tracking number, eCELLAR will begin performing status update checks and will update the order to Delivered.
Failed compliance -
- These orders can be resubmitted AS-IS from Order Search Results by rechecking the Cmpl box
- Or individually in the Order Detail with options to ignore address, ignore compliance, or both. If both are ignored on order resubmit, this is known in ShipCompliant as a 'force commit'.

Sending Orders to ShipCompliant for Compliance Checking and Fulfillment -
There are two ways to release orders for fulfillment processing:
Individual Order - Click the ‘Sent to Shipper’ checkbox in Order Detail view
Batch - From the Order Search results click on the SHIP button at the top of the column. Make sure as many orders are viewed as possible and perform this for each screen of order results. These will update every hour, on the hour.
Exporting Orders for Fulfillment Houses (for non-ShipCompliant workflow) -
-
From an Order Search Results: Select Action menu > Export Orders > Choose your fulfillment house form the drop down menu in Export to Fulfillment > Continue
NOTE: This action requires User Permission.
-
Confirm that you are ready to export these orders to fulfillment.
NOTE: This step will update the ship status on all orders in the result set to Exported.
-
Choose to email the export file, or download to your computer. eCellar is programmed for many fulfillment houses to directly email the order file. If you do not see the option available then download the file, and send to your fulfillment house.


4. Changing Ship Status
For a Paid Order -
- Search for order in admin
- Change Shipping Status to Unshipped
- Change Fulfillment (if required)
- Verify Shipping Address
- Update Order
For an Unshipped or Hold Ship Order CHANGE To Pick Up -
- Search for order in Admin
- Change Shipping Status to To Pick Up
- Change Fulfillment to InHouse (if required)
- Verify Shipping Address
- Update Order
- Credit Shipping charges
NOTE: These above actions are NOT recommended or supported as the tax rate and or/ inventory transaction(s) will be altered or rendered incorrect.
For a To Pick Up order CHANGE to Unshipped or Hold Ship
See this article on Pick Up to Ship Order Conversion
5. Add Tracking Information (manually) Using Import Tool
Note: This WILL update and effect inventory if that module is in use.
Most fulfillment houses will provide tracking information in a spreadsheet format, or an instance may arise when manually uploading tracking become necessary.
- To use the import tool in eCellar, you’ll need the following criteria:
- Order ID
- Shipper (FedEx, UPS, GSO)
- Ship and/or Delivered Date
- Download the Template: Admin Control Panel (ACP): Company > Shipping > Utilities > Add Ship Tracking
- Add the data: Copy/Paste each column from the fulfillment tracking to the eCellar Ship Tracking Import Template. Be sure to NOT disturb or alter the first row of data. Save as .csv file.
- Upload File on the Add Ship Tracking page.
6. Email an Invoice
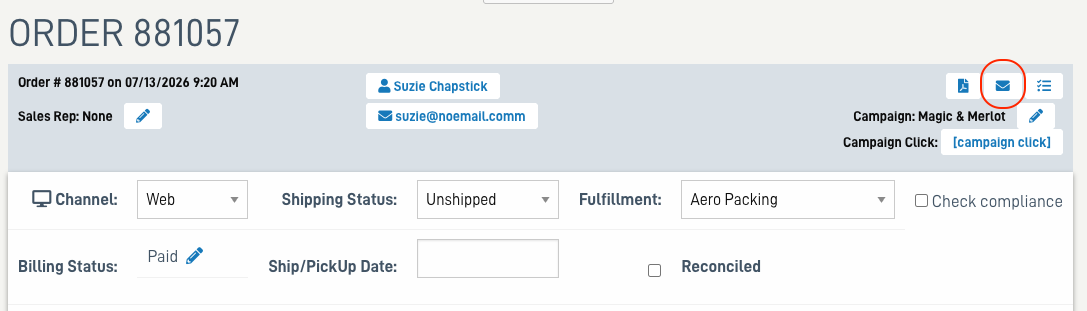
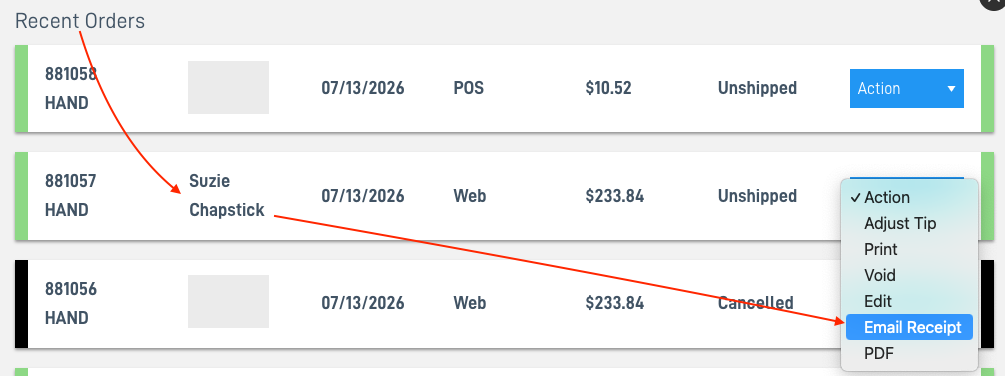
Email an invoice to the customer directly from the following locations after an order has been processed. This process will (re)send the Initial Order Custom Receipt.
-
Order Details
-
POS > Recent Orders
-
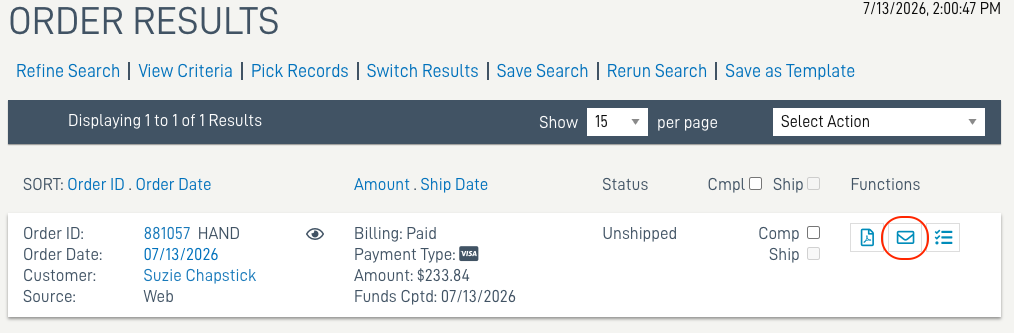
Order Search Results