
Reservations Manager v.3 Floor Plans
With Floor Plans you will be able to create a representation of your tasting room's floor plans with all tables, bar-tops and seats accounted.
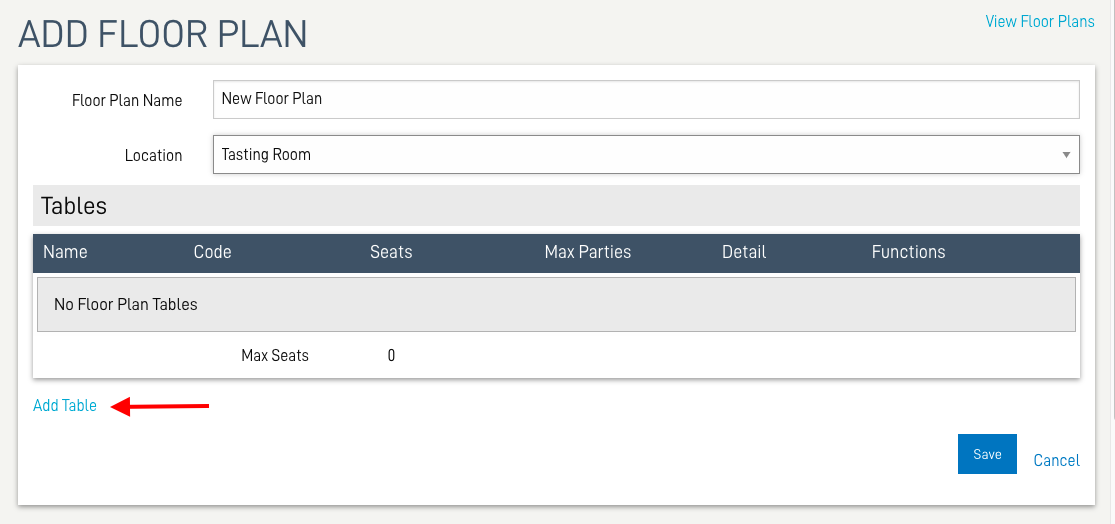
To create your floor plan, simply click the 'Add Floor Plan' link. Note if you are an existing client, your initial floor plan will be created via the conversion/migration from Reservations Manager v2 to v3; existing clients may need to consolidate and recreate floor plans into accurate representations of your space, table/seat, and capacity and reassign the Booking Agent appropriately.
NOTE: A Location can have multiple Floor Plans. Multiple Booking agents can be assigned to the same Floor Plan, and affect capacity thereafter.
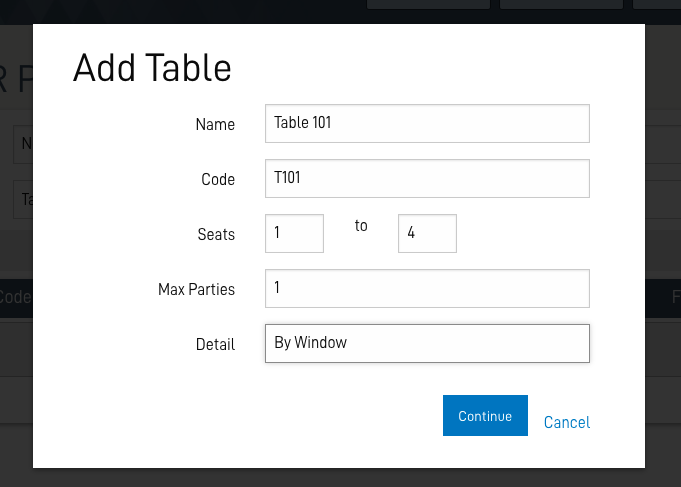
A. Your Table Name and Code should be unique identifiers with the number of seats listed as appropriate.
B. The Max Parties will allow multiple groups to be seated at the same table. This can be useful for Bar Tops and larger Community Tables.
C. The Detail field is for any additional description you'd like to add to assist your staff in assigning tables.
Best Practice:
1. Have a consistent naming regime for your tables and table codes.
2. For clients with multiple locations, it is HIGHLY suggested that Table Name/Codes not be re-used:
Example: A winery that has two Locations with Floor Plans:
A Tasting Room in Napa and a Winery in Sonoma. Each should have unique table codes and names, Napa Table 101 (NT101) and Sonoma Table 201 (ST201).